How to Start a Newsletter with Ghost
Step-by-step guide to launching your first Ghost newsletter. Set up sending, design your template, build signup forms, and grow your subscriber list.
From Zero to First Send
Starting a newsletter on Ghost takes less time than you think. Ghost’s newsletter system is built into the platform — no third-party integrations, no email service add-ons, no separate tools. Write a post, choose to send it as an email, and it goes to your subscribers.
This guide walks through every step from initial setup to sending your first newsletter and building your subscriber list.
Step 1: Choose Your Ghost Setup
You have two options for running Ghost:
Ghost(Pro) — Managed Hosting
Ghost(Pro) is the easiest path. Ghost handles servers, updates, SSL, email delivery, and backups. You sign up, pick a plan, and start publishing.
| Plan | Price (annual) | Members | Key Feature |
|---|---|---|---|
| Starter | $15/mo | 1,000 | Free newsletter, 1 staff user |
| Publisher | $29/mo | 1,000 | Paid memberships, custom themes, 3 newsletters |
| Business | $199/mo | 10,000 | Priority support, 10 newsletters |
For a newsletter-focused publication, the Starter plan covers free newsletters. If you want paid subscriptions or a custom theme, you need Publisher.
Self-Hosted Ghost
Ghost is open-source (MIT license). Install it on a VPS from $4-6/month using Ghost-CLI. You will need to set up Mailgun for email delivery (from $15/month for 10,000 sends). Self-hosting gives you full server control but requires managing updates, backups, and email infrastructure yourself.
For this guide, I will walk through Ghost(Pro) since it requires zero infrastructure setup.
Step 2: Configure Your Newsletter Settings
Once you have a Ghost site running, go to Settings → Newsletters.
Ghost creates a default newsletter automatically. Click on it to configure:
Sender Information
- Newsletter name: The name that appears in subscribers’ inboxes. Use your publication name.
- Sender email: On Ghost(Pro) Starter, this is a generic
@ghost.ioaddress. On Publisher+, you can set a custom sending domain likenewsletter@yourdomain.com. - Reply-to address: Where replies go. Set this to an email you actually check — reader replies are a valuable engagement signal.
Email Design
Ghost’s email designer lets you customize without touching code:
- Header image: Your logo or newsletter banner (recommended: 600px wide)
- Title font: Serif or sans-serif for the newsletter title
- Body font: The font for email content
- Button color: Accent color for CTA buttons
- Show feature image: Toggle whether post feature images appear in the email
- Show post title as heading: Toggle whether the post title appears above the content
- Footer content: Custom text at the bottom of every email (good for your tagline, links, or legal text)
Keep the design clean. Email clients strip complex formatting. The simpler your template, the more consistently it renders across Gmail, Apple Mail, Outlook, and others.
Step 3: Create Multiple Newsletters (Publisher+)
On the Publisher plan and above, you can create multiple newsletters with independent subscription lists. This is useful when you want to send different types of content to different audiences.
Go to Settings → Newsletters → Add newsletter to create additional newsletters. Each newsletter has its own:
- Design settings (colors, fonts, header image)
- Subscriber list (members choose which newsletters to receive)
- Sending frequency and purpose
Common setups:
- Weekly digest + Breaking news (media publications)
- Free newsletter + Premium-only newsletter (paid publications)
- Technical updates + Business updates (SaaS companies)
Subscribers manage their newsletter preferences from their account page, choosing exactly which newsletters they want.
Step 4: Set Up Signup Forms
Ghost provides several ways to collect email subscribers:
Portal — Built-In Signup Widget
Ghost Portal is the native signup/login system. It appears as a floating button on your site that opens a signup modal. Configure it in Settings → Membership → Portal.
Portal settings:
- Button style: Icon only, text only, or icon + text
- Button text: “Subscribe” is the default — customize as needed
- Colors: Match your site’s accent color
- Signup prompt: The text shown in the signup modal
- Welcome page: Where new subscribers land after signing up (default or custom URL)
Portal handles the entire signup flow: email collection, confirmation emails, and member authentication.
Embedded Signup Forms
For more control over placement, embed signup forms directly in your content or theme:
Ghost supports native signup cards in the editor. When writing a post, type /signup to insert a signup card. This renders as an inline email collection form within the post content.
Your theme can also include custom signup sections. Most premium themes have dedicated signup areas in the homepage, sidebar, or footer.
Landing Pages
Create a dedicated signup page using Ghost’s page feature. Write a compelling pitch for your newsletter, add a signup card, and link to it from social media, your email signature, or other channels.
Step 5: Write and Send Your First Newsletter
This is where Ghost’s integrated approach matters. Writing a newsletter post is identical to writing any other post:
-
Go to Posts → New post
-
Write your content using Ghost’s editor (supports images, embeds, code blocks, callouts, bookmarks, and more)
-
When ready, click the Publish button
-
Choose your distribution:
- Publish only — post goes live on your website but is not emailed
- Publish and email — post goes live on your website AND is sent to subscribers
- Email only — sent to subscribers without publishing to the web
-
Select which newsletter to send through (if you have multiple)
-
Select the audience: all subscribers, free members only, paid members only, or a specific segment
-
Click Continue → Send
That is the complete workflow. No copying content between platforms. No separate email builder. One editor, one action.
Email-Only Content
The “Email only” option is worth highlighting. It lets you send content that never appears on your website. Use this for:
- Personal updates to paying members
- Time-sensitive announcements
- Content you want to keep exclusive to inboxes
- Behind-the-scenes notes
Step 6: Understand Segmentation
Ghost lets you segment your audience when sending newsletters:
- All subscribers: Everyone who has signed up
- Free members: Members on the free tier
- Paid members: Members on any paid tier
- Specific tier: Members on a particular paid plan
- Labels: Custom tags you have assigned to members (e.g., “beta-testers”, “VIP”)
- Newsletter subscription: Members subscribed to a specific newsletter
Segmentation lets you send the right content to the right people. A product announcement goes to paying customers. A special offer goes to free members you want to convert. A technical deep-dive goes to your most engaged subscribers.
Step 7: Set Up a Welcome Email
When someone subscribes, a welcome email is your first impression. Ghost does not have a built-in automation sequence builder, but you can configure a simple welcome email:
- Go to Settings → Newsletters
- Under your newsletter, check Send a welcome email to new subscribers
- Customize the welcome message
Keep it short: introduce yourself, set expectations for what they will receive and how often, and link to your best content.
Step 8: Monitor Your Analytics
After sending your first newsletter, check performance in Posts → [Your Post] → Analytics:
Ghost tracks per-post email analytics:
- Open rate: Percentage of recipients who opened the email
- Click rate: Percentage who clicked at least one link
- Per-link clicks: Which specific links got the most engagement
- Delivery stats: Sent, delivered, opened, clicked
Industry benchmarks for newsletters: 35-45% open rate is healthy, 2-5% click rate is solid. Ghost publishers typically see higher-than-average engagement because subscribers opted in directly (no purchased lists or cross-promotions).
Use these metrics to understand what content resonates. Posts with high open rates had strong subject lines. Posts with high click rates had compelling calls to action.
Growing Your Subscriber List
Getting your first 100 subscribers is the hardest part. Here are tactics that work for Ghost publishers:
Optimize Your Homepage
Your homepage is your highest-traffic page. Make sure it has a prominent newsletter signup above the fold. Premium Ghost themes typically include hero sections with integrated signup forms.
Write Evergreen Content That Ranks
Every Ghost post is a permanent web page with proper SEO markup. Write articles that target search keywords your audience cares about. Organic search traffic converts to subscribers when you have clear signup CTAs on every post.
For detailed newsletter setup including Mailgun configuration and deliverability optimization, see our Ghost newsletter guide.
Cross-Promote on Social Media
Share your newsletter content on Twitter, LinkedIn, Threads, or wherever your audience is. Link to the web version of your posts (every Ghost newsletter post has a permanent URL) and let the signup forms on your site convert visitors.
Use Ghost’s Native Features
- Recommendations: Ghost lets you recommend other publications to your readers, and they can recommend you back
- ActivityPub support: Ghost is building native Fediverse integration, making your publication discoverable on Mastodon and other ActivityPub platforms
Custom Sending Domain (Publisher Plan)
On the Publisher plan, you can configure a custom sending domain so your emails come from newsletter@yourdomain.com instead of a generic Ghost address. This improves:
- Brand recognition: Subscribers see your domain in the “from” field
- Deliverability: Custom domains with proper SPF, DKIM, and DMARC records land in inboxes more reliably
- Reply handling: Replies go directly to your domain’s email
Set this up in Settings → Newsletters → [Your Newsletter] → Email address.
Your Newsletter’s Visual Identity
The theme you choose defines how your publication looks on the web — the other half of your newsletter experience. While Ghost’s email design controls the inbox, your theme controls everything a subscriber sees when they click through to your site.
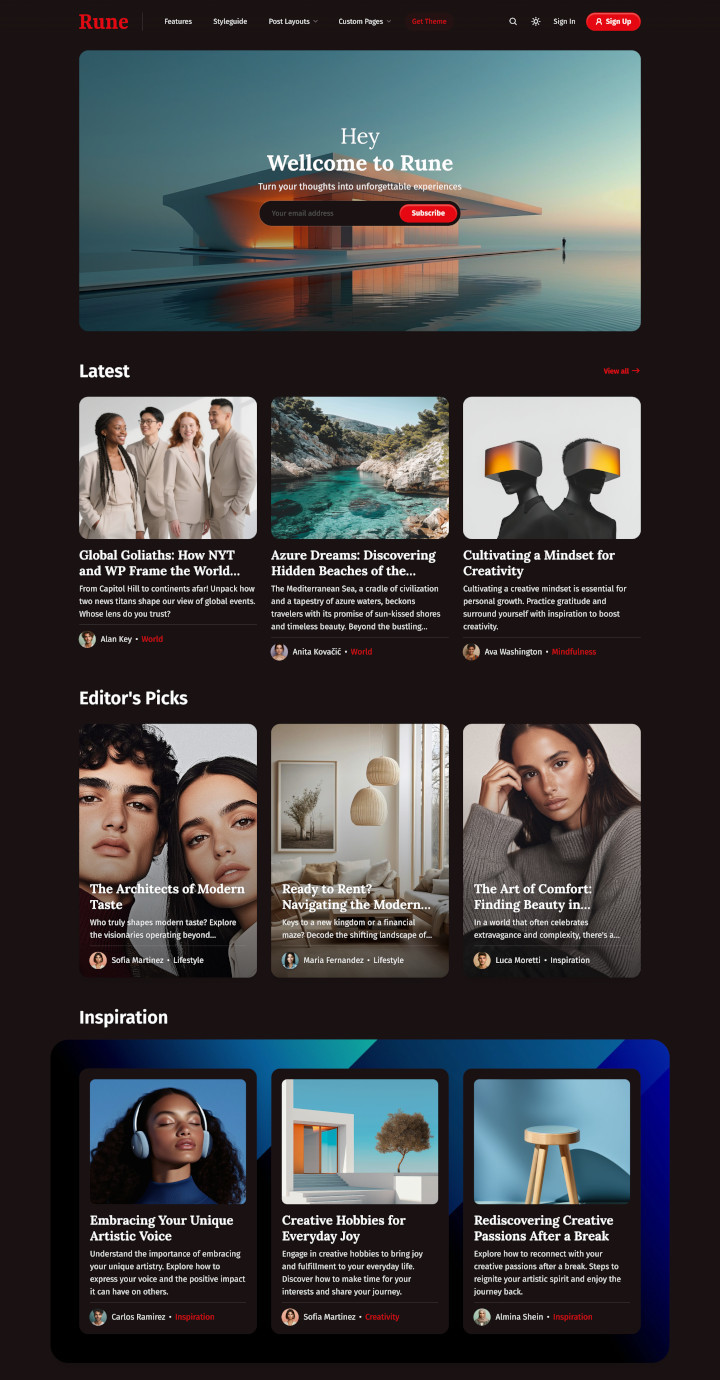
Our Rune theme shows what a polished newsletter publication looks like on the web: visitor-controlled theme switcher, featured post highlights, and PWA support for readers who want an app-like experience.
Our themes include dark mode, 46 language translations, and membership pages, starting at $69.
Recommended Themes
These themes excel at the features discussed in this article.