Tribune Theme Documentation
Welcome to Tribune — a newspaper-style Ghost theme designed for publications, multi-author blogs, and editorial sites. This guide walks you through installing the theme, configuring it through Ghost Admin, and using its built-in features.
If you’re new to Ghost, the official Ghost documentation is a good starting point.
Installation and Updates
Installing the Theme
- Log in to your Ghost Admin.
- Go to
Settings>Design & branding>Customize. - Click
Change theme(bottom right). - Select
Upload themeand choose theTribune.zipfile you downloaded. - Click
Activate.
Updating the Theme
- Download the latest version of
Tribune.zip. - Go to
Settings>Design & branding>Customize. - Click
Change theme. - Select
Upload themeand choose the newTribune.zip. - Activate the updated theme.
Heads up: Updating overwrites any direct code changes you’ve made to the theme files. If you’ve customized templates or styles, back up your changes first.
Removing the Theme
- Go to
Settings>Design & branding>Customize. - Click
Change theme. - Activate a different theme first (Ghost won’t let you delete the active one).
- Click the
...menu next to Tribune and selectDelete.
Language Support
Tribune ships with translations for 46 languages plus English. Visitors see interface text, dates, and navigation labels in your chosen language.
Setting your language:
- Go to
Settings>General. - Under
Publication language, enter the language code (e.g.esfor Spanish,jafor Japanese). - Click
Save.
Right-to-left languages (Arabic ar, Hebrew he, Persian fa, Urdu ur, Central Kurdish ckb, Pashto ps, Sindhi sd, Dhivehi dv) automatically flip the layout direction — no extra setup needed.
Customization
All settings below live under Settings > Design & branding > Customize in Ghost Admin unless noted otherwise.
Logo
Your main logo is uploaded through Ghost’s standard branding settings:
- Go to
Settings>Design & branding. - Under
Brand, findPublication logo. - Click
Upload logoand choose your image. A transparent PNG works best. - Click
Save.
Dark-mode logo (optional): If your main logo doesn’t read well on a dark background, you can upload a separate variant:
- Open
Customize. - Under
Site-wide, findLogo for dark color scheme. - Upload your dark-mode logo and click
Save.
The setting only appears when your color scheme is set to Dark or System. If you leave it empty, your main logo is used in both modes.
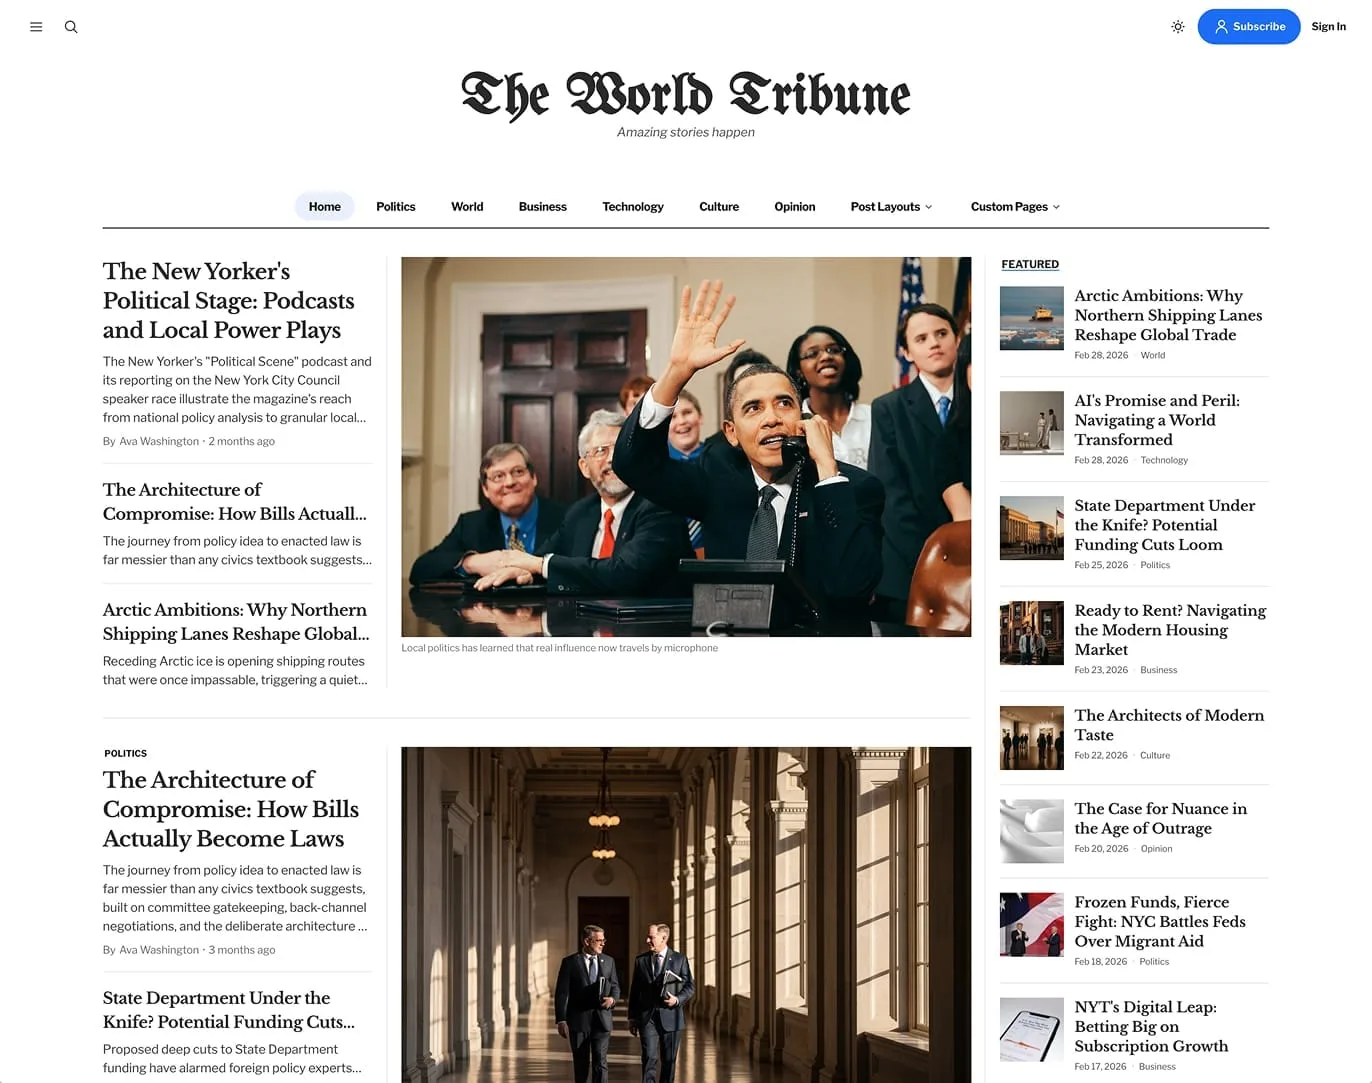
Color Scheme
- Open
Customize. - Under
Site-wide, findColor schemeand pick one:- Light — always show the light theme.
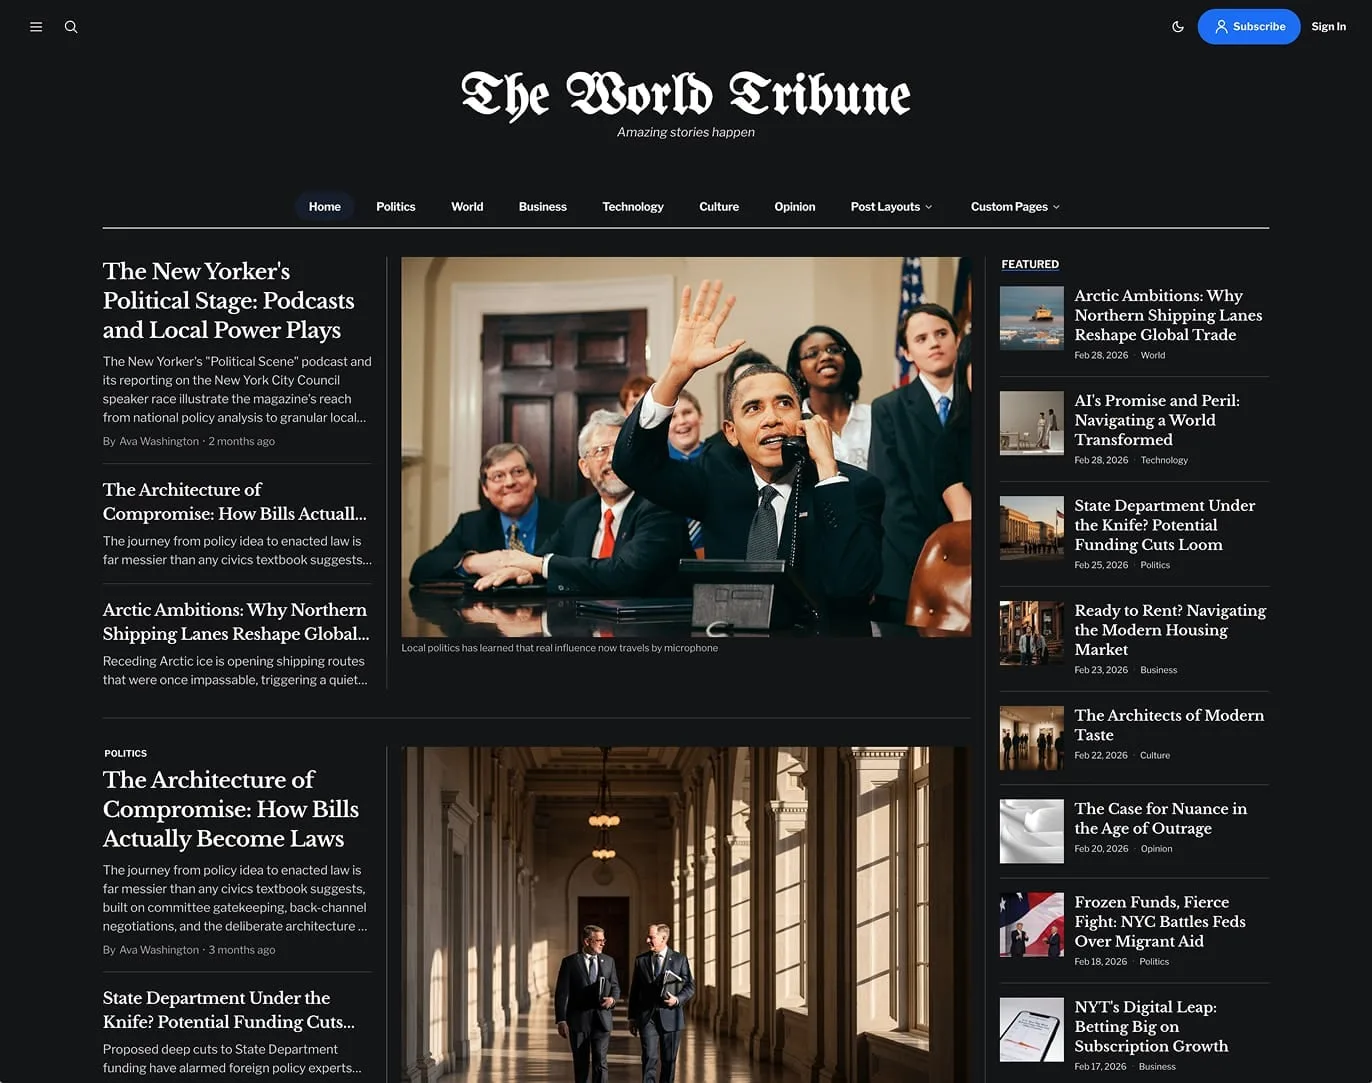
- Dark — always show the dark theme.
- System — match each visitor’s device preference automatically.
- Click
Save.
Letting visitors toggle: Turn on Show color scheme switcher (also under Site-wide) to add a sun/moon button to the header.
Accent Color
The accent color drives button backgrounds, link hover styles, focus rings, and a few highlight details (like the underline below “Featured” and category section headings).
- Go to
Settings>Design & branding. - Under
Brand, click theAccent colorswatch. - Pick a color and click
Save.
Navigation
Tribune uses two navigation areas, both edited under Settings > Navigation.
Primary navigation appears as the main menu (horizontal on desktop, in the side drawer on mobile and on click). Secondary navigation appears as multi-column links in the footer.
Navigation item formatting
Use these label conventions to control how items render:
| Goal | Label format | URL |
|---|---|---|
| Plain link | Home | / |
| Link with icon | [icon=home] Home | / |
| Group header (no link) | Company | # |
| Item nested under the header above | -About | /about |
Icons can be any name from the Lucide icon library — e.g. home, user, mail, phone, calendar. They render to the left of the label.
Example:
Home label "Home" url "/"Company label "Company" url "#" About label "-About" url "/about" Contact label "-Contact" url "/contact"Blog label "Blog" url "/blog"This produces a dropdown under “Company” containing “About” and “Contact”, with “Home” and “Blog” as top-level items.
Built-in search
Ghost’s search is wired in automatically — no configuration needed.
- Mobile / drawer menu: tap the search icon.
- Desktop: click the search icon in the header.
- Keyboard shortcut:
⌘Kon Mac,Ctrl+Kon Windows/Linux.
Fonts
You can pick fonts two ways. The native Ghost picker is recommended; the theme settings are a fallback when no Ghost fonts are configured.
Option 1 — Ghost native fonts (recommended)
Requires Ghost 5.104.0+.
- Go to
Settings>Design & branding. - Under
Brand, find theTypographysection. - Pick your heading and body fonts.
- Click
Save.
These take precedence over Tribune’s own font settings.
Option 2 — Tribune font settings
- Open
Customize. - Under
Site-wide, setHeading fontandBody font. - Click
Save.
Subscribe Button
The subscribe button in the header uses Ghost’s Portal customization:
- Go to
Settings>Membership>Portal. - Click
Customize Portal. - Under
Look & feel, adjust:- Button style — icon only, text only, or both
- Button icon — one of five built-ins, or upload your own
- Button text — defaults to “Subscribe”
- Click
Save.
Social Media Links
Social icons appear in the site footer.
Facebook and X are pulled from Ghost’s built-in social fields:
- Go to
Settings>General. - Scroll to
Social accounts. - Enter your Facebook page URL and X profile URL.
- Click
Save.
Other platforms are configured through Settings > Code injection. In Site Header, paste:
<script> window.social = { instagram: "https://instagram.com/your_username", linkedin: "https://linkedin.com/in/your_profile", youtube: "https://youtube.com/your_channel", pinterest: "https://pinterest.com/your_username", };</script>Supported platform keys (lowercase): Behance, Bluesky, Deezer, Diaspora, Discord, Dribbble, Facebook, Flickr, Instagram, Kickstarter, Line, LinkedIn, Mastodon, OK, Patreon, Pinterest, Reddit, Snapchat, Spotify, Telegram, Threads, TikTok, Twitch, Vimeo, WhatsApp, Weibo, X, Xing, Yelp, YouTube, Zhihu.
Author Social Links
Each author can have their own social links shown on their archive page and at the bottom of their posts.
- Go to
Settings>Staff. - Edit an author profile.
- Scroll to
Social accounts. - Fill in the relevant fields.
- Click
Save.
Supported per-author platforms: Website, Facebook, X (Twitter), Instagram, TikTok, YouTube, LinkedIn, Threads, Bluesky, Mastodon.
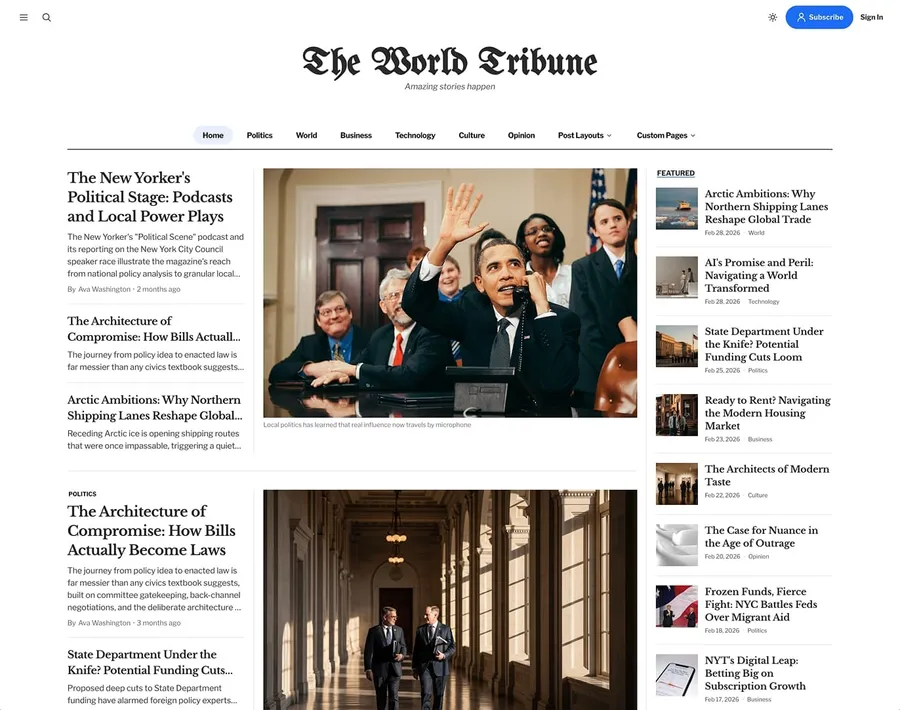
Homepage Setup
The homepage is composed of a main story area, a configurable sidebar, and up to three category sections — each with a different visual treatment so you can mix layouts without them looking samey.
Sidebar
The right-hand column of the top section shows either your featured posts or posts from a specific tag.
- Open
Customize. - Under
Homepage, findSidebar tag. - Enter either:
featured(default) — shows posts you’ve marked as featured in Ghost.- A tag URL like
news— shows posts tagged with that tag.
- Click
Save.
Marking posts as featured:
- Edit a post.
- Open post settings (gear icon).
- Toggle
Feature this postON. - Update the post.
Category Sections
Tribune can render up to three category sections on the homepage, each pulling from the tags you choose and using a different layout. This lets you give important sections visual weight without manual editing.
| Field | Renders | Layout | Best with |
|---|---|---|---|
Homepage tags group 1 | Right after the lead stories | Text + image split | 2–4 tags |
Homepage tags group 2 | Below “Latest from {site}“ | 4-column grid | 2–5 tags |
Homepage tags group 3 | At the bottom of the homepage | Two-column newspaper | Even count (2, 4, 6…) — odd numbers leave an empty slot |
Setup (each section):
- Open
Customize. - Under
Homepage, find the relevantHomepage tags group Xfield. - Enter comma-separated tag URLs (e.g.
news,sports,culture). - Click
Save.
Each tag gets its own section heading and a row of up to 4 recent posts from that tag. Leaving a field empty hides that section entirely.
Copyright Text
Customize the line shown at the bottom of every page:
- Open
Customize. - Under
Site-wide, findCopyright text. - Enter your line (e.g.
© 2026 Tribune News. All rights reserved.). - Click
Save.
If left empty, the footer shows Published with Ghost linking to ghost.org.
Post Templates
Tribune ships five post templates. To use one:
- Edit a post in Ghost Admin.
- Open post settings (gear icon).
- Under
Template, pick the template. - Click
Update.
Default — Standard layout with the feature image below the title. The post body sits inside the standard content width with a “Read next” section underneath. Use this for most posts.
Wide post (custom-post-wide) — Full-bleed feature image with the title and excerpt overlaid on top. The header bar goes transparent over the image and switches back to its solid style as the reader scrolls past. Best for cover-story features and visual content.

Inline image (custom-post-inline-image) — Feature image and title sit side by side. Useful when the image complements the title rather than dominating the page.
No image (custom-post-no-image) — Hides the feature image entirely for a clean, text-only header. Best for opinion pieces and short reads.
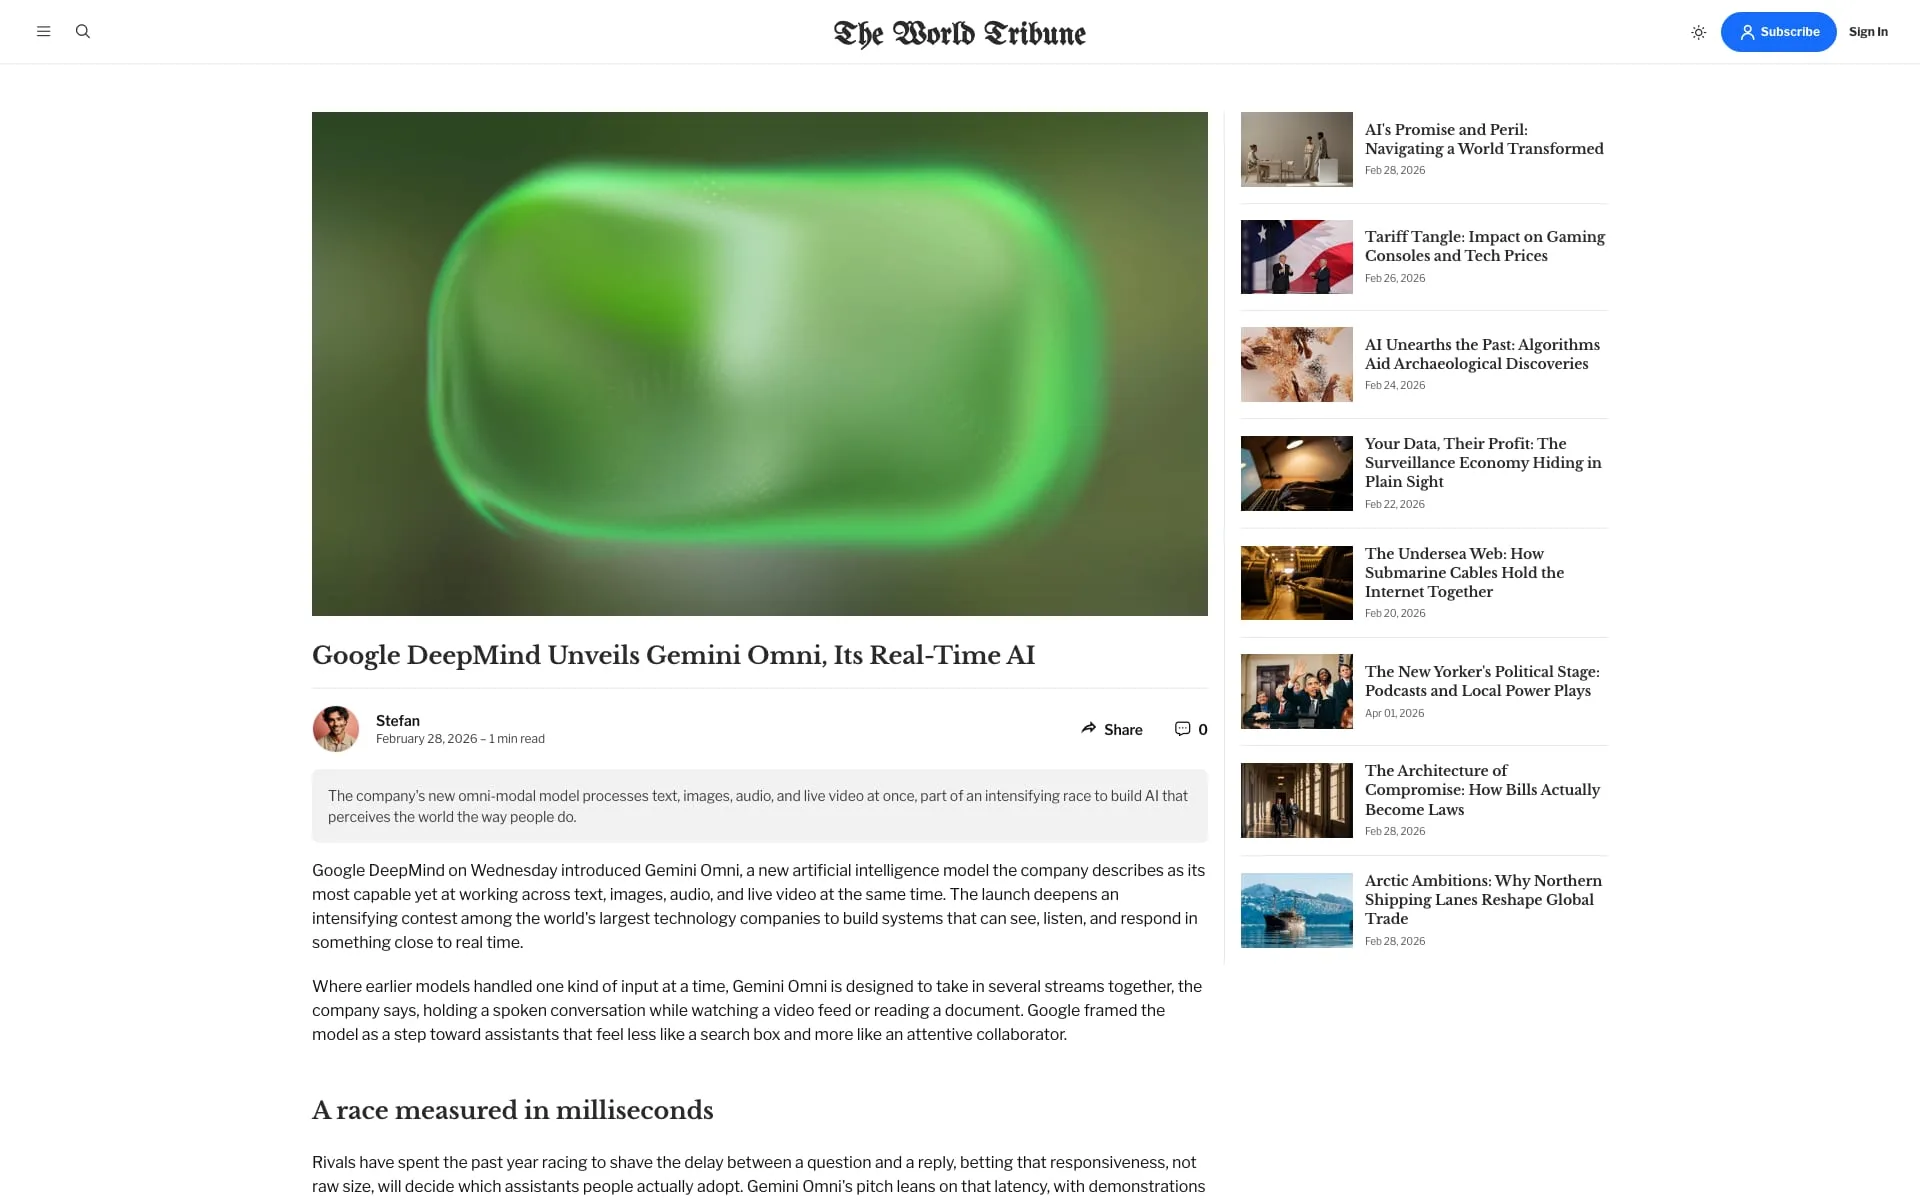
Video post (custom-post-video) — Two-column layout with the video player and body on the left, a sidebar of related posts on the right. The first video or embed in your post content is lifted into the header automatically. On mobile, the sidebar stacks below the post.
Page Templates
Page templates work the same way as post templates — choose them in page settings.
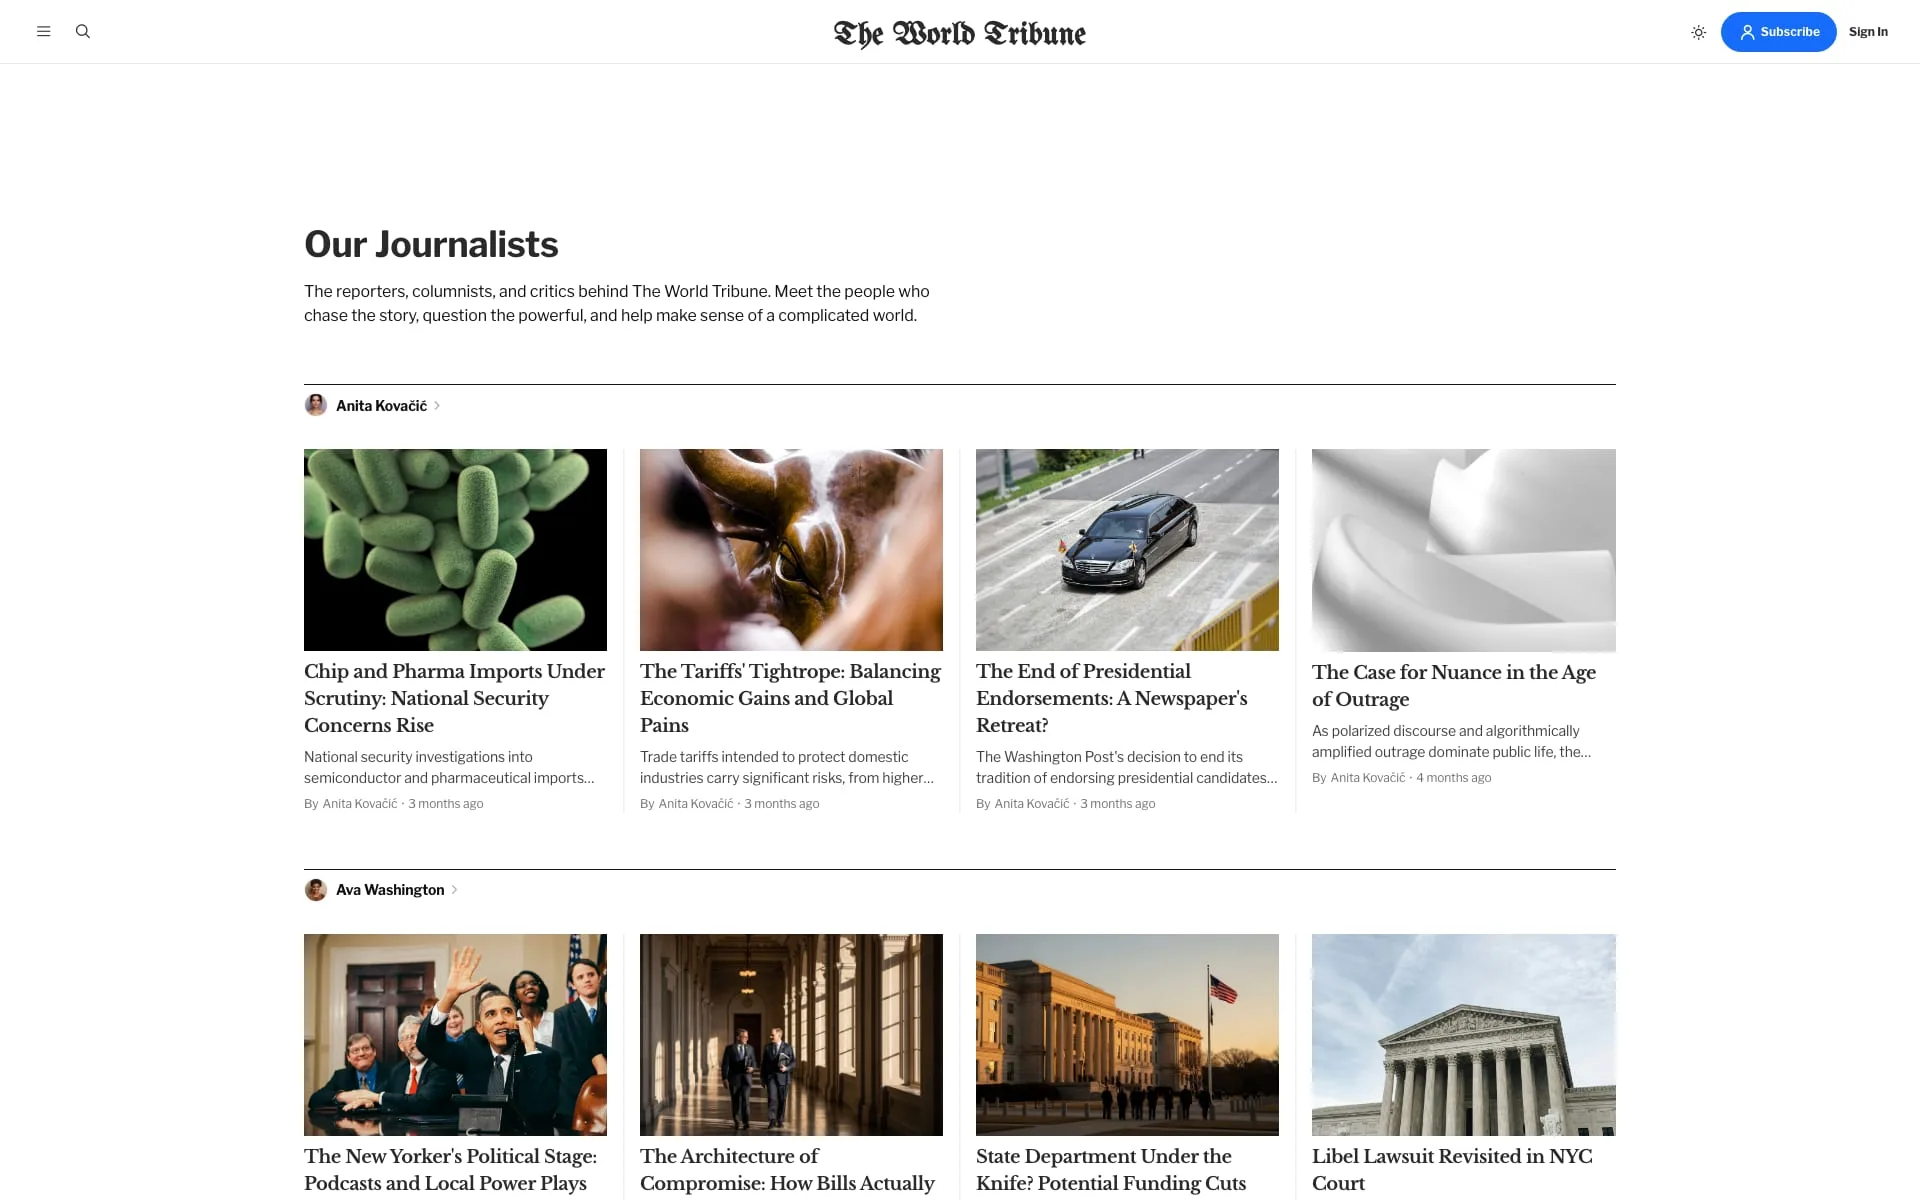
Authors page
Lists every author with a grid of their recent posts. Best when author profiles have profile images and bios filled out.
- Create a new page in Ghost Admin (e.g. titled “Our Team”).
- Open page settings →
Template→Authors. - Publish.
Tags page
Lists every public tag with a grid of recent posts per tag.
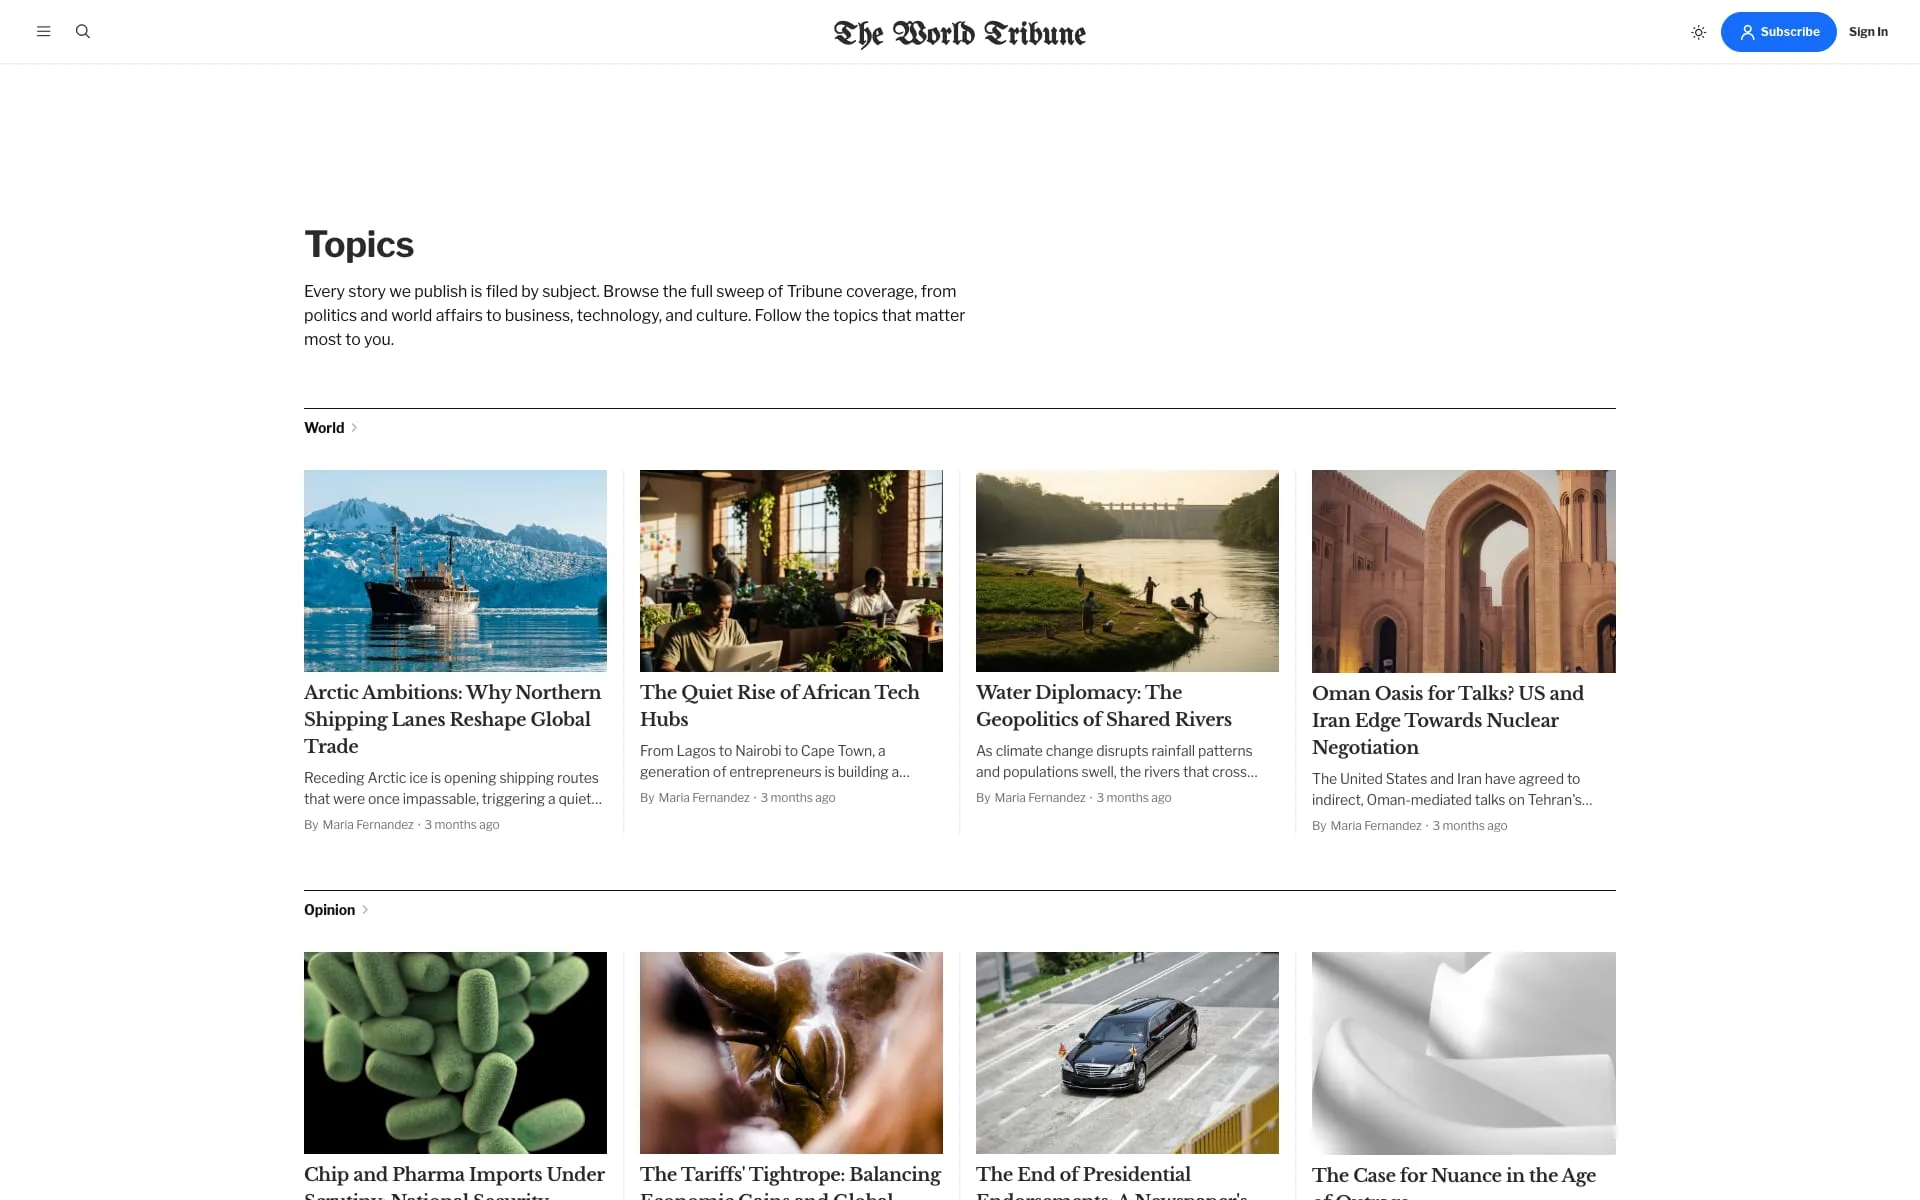
- Create a new page (e.g. titled “Topics”).
- Open page settings →
Template→Tags. - Publish.
Membership page
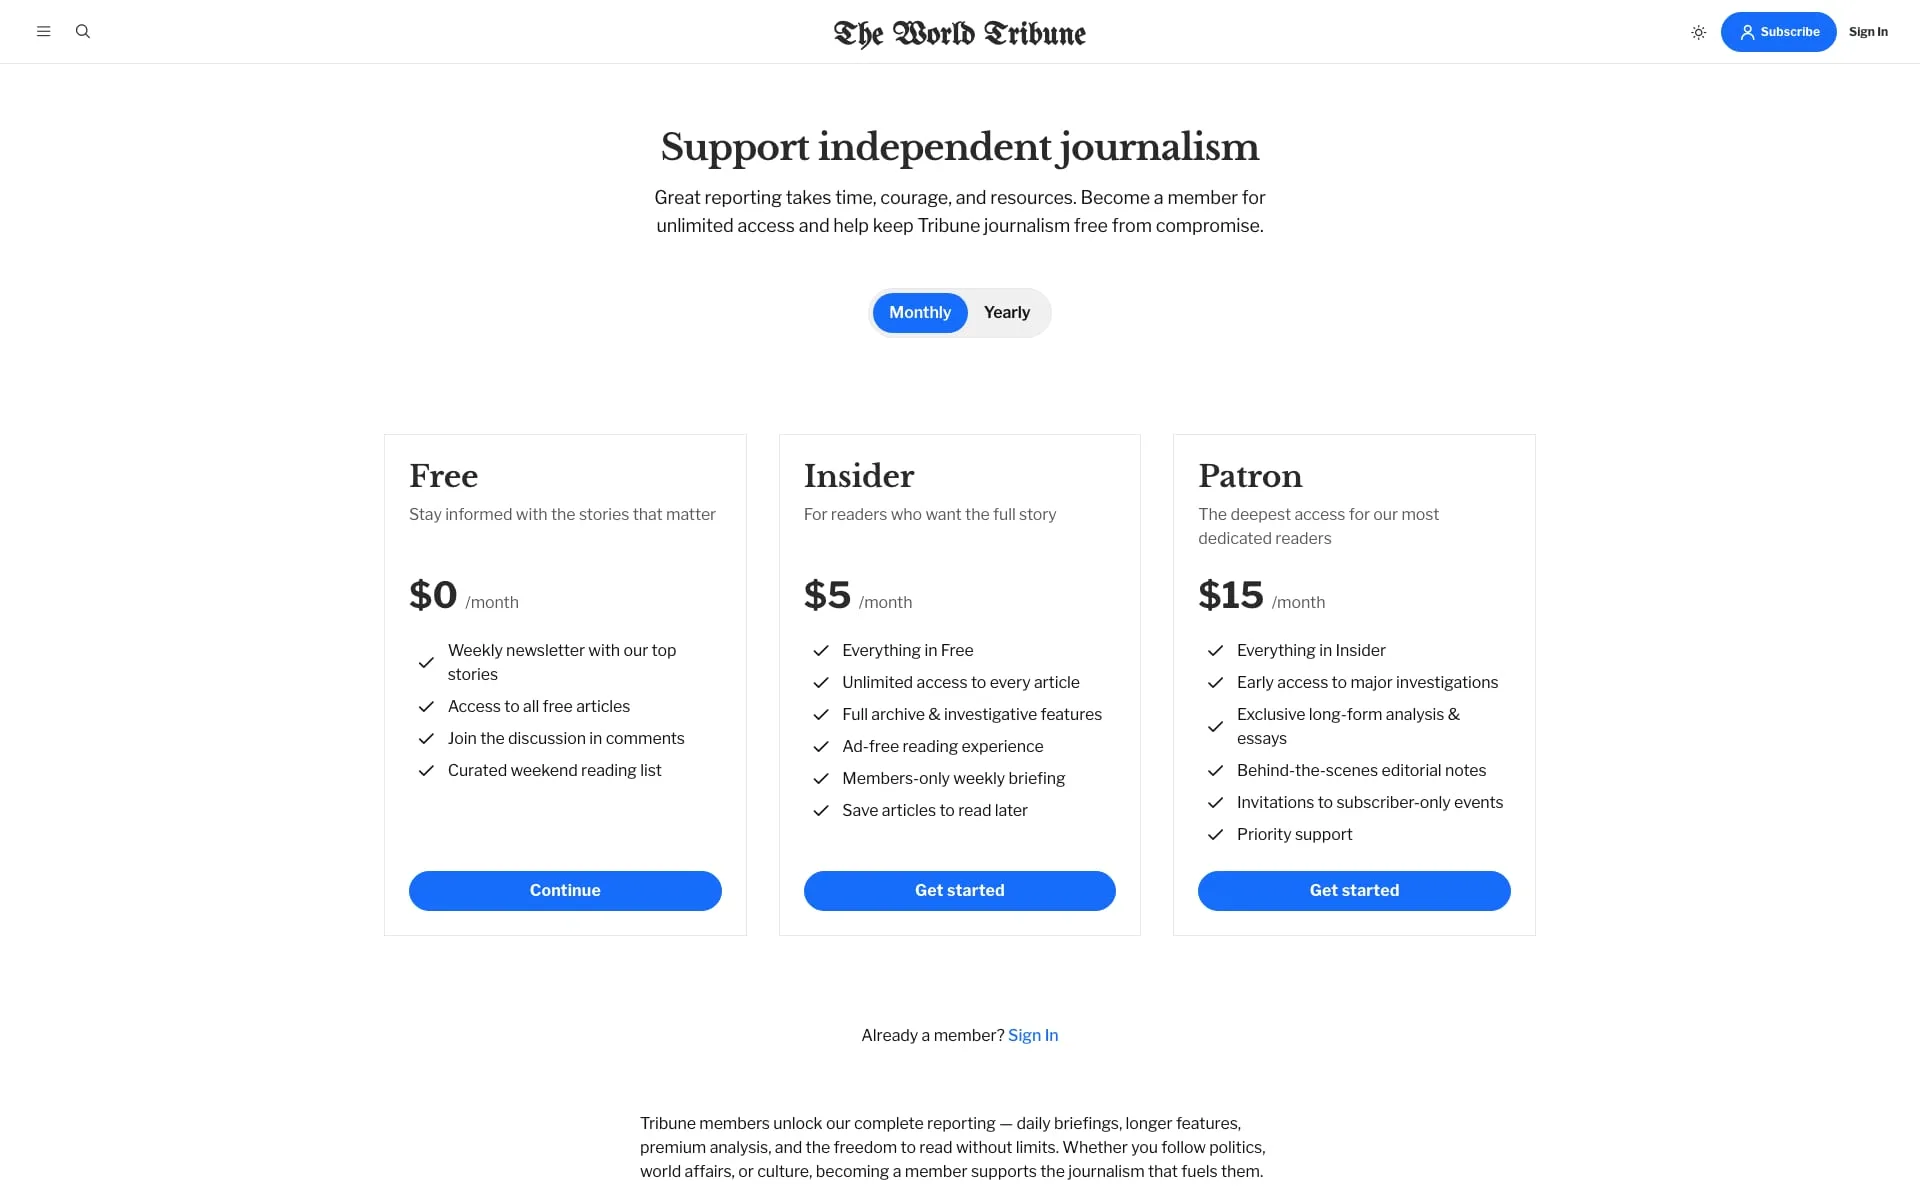
Displays your Ghost membership tiers in a pricing layout with a monthly/yearly toggle.
- Create a new page (e.g. titled “Become a member”).
- Add a
Custom excerptfor the lead text shown under the title. - Optionally add a
Feature image— it becomes the background for the pricing section. - Add any FAQ or longer-form content in the editor; it renders below the tiers.
- Open page settings →
Template→Membership. - Publish.
The page automatically pulls in your tiers from Settings > Membership > Tiers. Existing members see their current plan marked. Tiers with a trial period configured show a “Try free for X days” line above the call-to-action.
Contact page
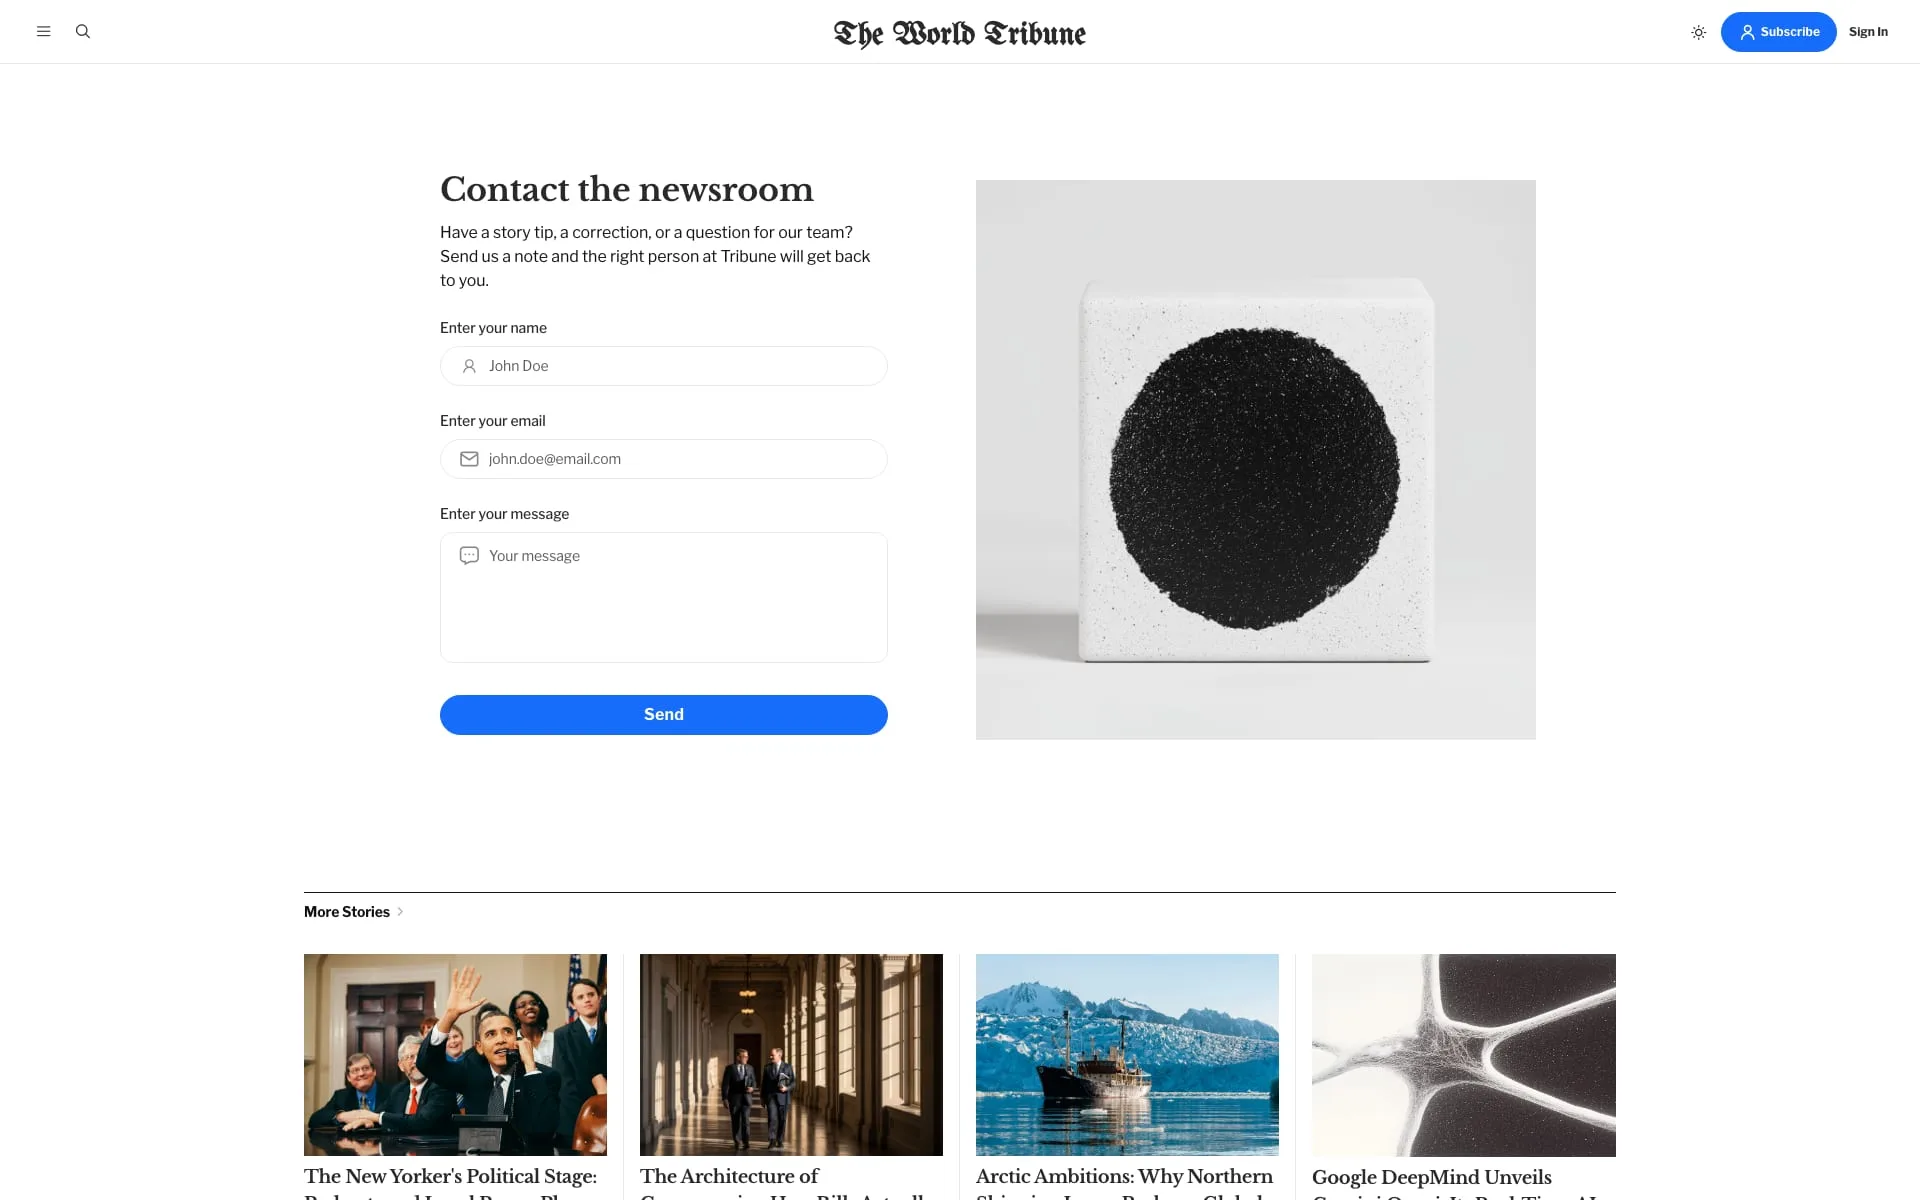
Drop in a working contact form using a third-party form service.
- Sign up for Formspree, Getform, or any service that accepts form submissions and gives you a unique endpoint URL.
- Open
Customize. UnderSite-wide, paste the endpoint intoContact form url. ClickSave. - Create a new page (e.g. titled “Contact us”).
- Add any intro text in the editor — it renders above the form fields.
- Open page settings →
Template→Contact. - Publish.
Wide page
A full-width page template for landing pages, longform features, or visual showcases that need to break out of the standard content width.
- Create a new page.
- Add your content; a feature image becomes a dramatic full-bleed header.
- Open page settings →
Template→Wide Page. - Publish.
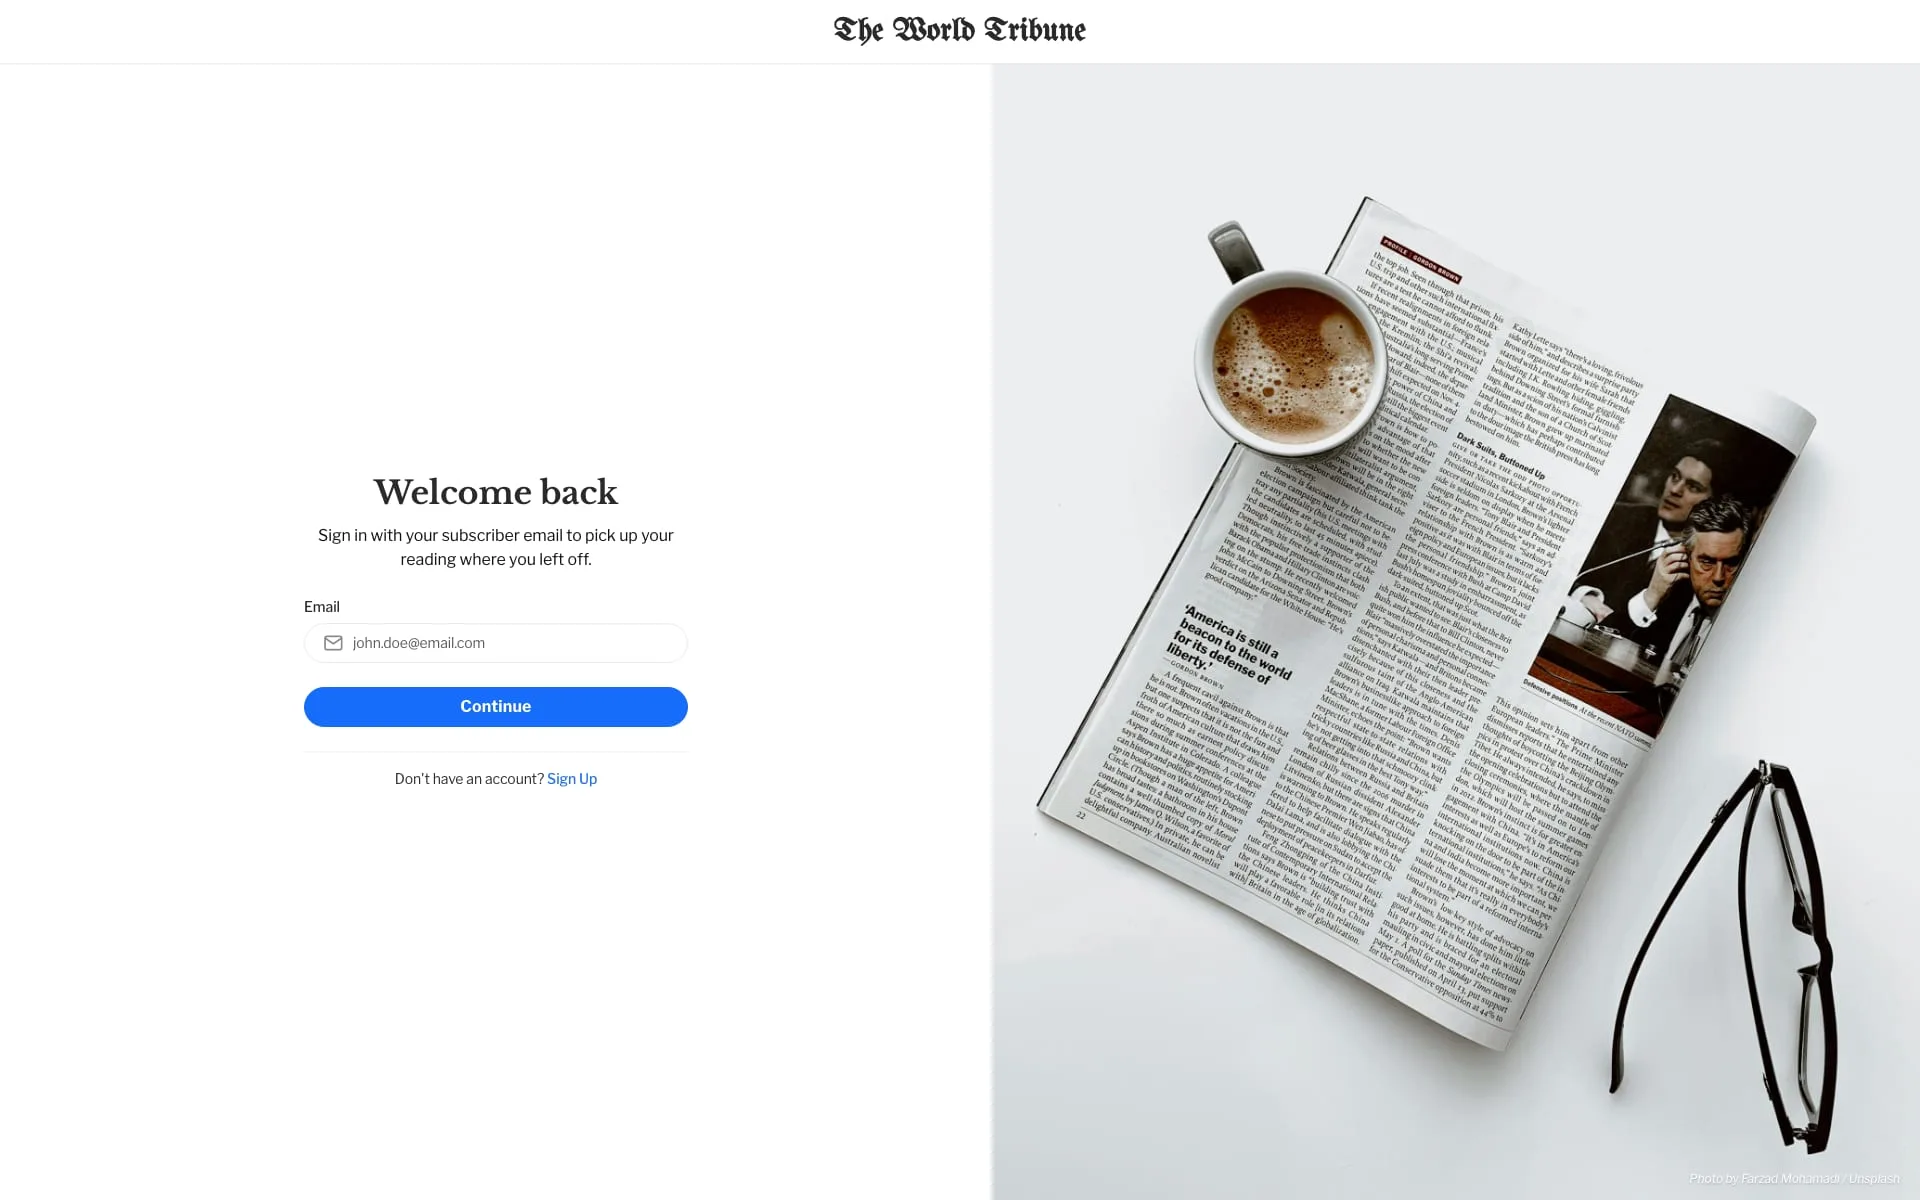
Sign In and Sign Up pages
By default, Tribune uses Ghost’s pop-up portal for authentication. You can replace it with dedicated full pages instead.

Enable the custom pages:
- Open
Customize. - Under
Site-wide, turn onUse custom auth pages. - Click
Save.
Create the pages:
- Create a page titled “Sign In” (slug
sign-inis recommended). - Open page settings →
Template→Sign In. - Add any intro or welcome text in the editor.
- Optionally add a feature image; it appears on the right side of the layout. If empty, your site’s cover image is used.
- Publish.
- Repeat for “Sign Up” → template
Sign Up.
If the pages don’t exist, the toggle silently falls back to Ghost’s portal — no broken links.
Newsletter signup block
The footer ends with a newsletter signup. The heading and subheading are configurable through a Ghost page:
- Create a page (e.g. titled “Stay in the loop”).
- In the editor, write the title and a sentence or two of body text.
- Open page settings →
Tags→ add the internal tag#subscribe-form. - Publish (the page itself isn’t navigated to; its title and content are pulled into the footer block).
Built-in Features
These work automatically — no configuration needed.
Social sharing
Every post has a Share button that opens a dialog with 12 platforms: Facebook, X, LinkedIn, Email, WhatsApp, Telegram, Threads, Bluesky, Mastodon, Reddit, Pinterest, and LINE. A Copy link button is also included.
Image lightbox
Click any image inside post content (single images or galleries) to open a full-screen lightbox. Use arrow keys or swipe to navigate; pinch to zoom on mobile; press Esc to close.
Reading progress indicator
A circular progress badge can appear in the bottom-right corner of long pages and double as a “back to top” button.
- Open
Customize. - Under
Site-wide, turn onShow scroll indicator. - Click
Save.
It only appears on pages taller than roughly two screens.
Comments
Comments use Ghost’s native commenting system. Enable them in Settings > Membership > Access → Commenting, and pick who can comment.
”Add to home screen” on mobile
Visitors on iOS and Android can save your site to their home screen as a standalone app, using your site icon and title. No setup needed — just make sure your site icon is set in Settings > Design & branding > Brand.
Tag and author archive pages
When a visitor clicks a tag or author name, they land on a dedicated archive page automatically:
/tag/news— shows the tag’s name, description, and posts./author/jane— shows the author’s name, bio, profile image, social links, and posts.
These pages require no setup. They get richer when your tags have descriptions / feature images, and your authors have bios / profile images filled out.
Reading time, code highlighting, responsive video
A few smaller niceties that work automatically with no setup:
- Reading time — every post byline shows
X min read, auto-calculated and localized. - Code blocks —
<pre><code>blocks in posts are syntax-highlighted on the fly. - Embedded video — YouTube embeds resize fluidly to the column width and keep a 16:9 ratio.
Custom CSS
For visual tweaks beyond what the settings expose, you can override CSS variables through Ghost’s code injection. This is the safest way to make customizations because your changes survive theme updates.
How:
- Go to
Settings>Code injection. - In the
Site Headerbox, paste a<style>block with the variables you want to change. - Click
Save.
Example:
<style>  :root {    /* Colors */    --color-page: #fafafa;            /* page background */    --color-content: #1f2937;         /* body text */    --color-content-alt: #000000;     /* headings and emphasized text */    --color-stroke: #d1d5db;          /* borders and separators */
    /* Buttons */    --button-border-radius: 0.5rem;   /* slightly rounded instead of pill */    --button-background-color: #2563eb;
    /* Inputs */    --input-border-radius: 0.375rem;
    /* Branding */    --site-logo-height: 3rem;  }</style>
Variables you can override:
| Variable | Controls |
|---|---|
--color-page | Main page background |
--color-page-alt | Secondary background (cards, inputs, callouts) |
--color-content | Main body text color |
--color-content-alt | Headings and emphasized text color |
--color-content-muted | Captions, meta text, hints |
--color-stroke | Borders and separator lines |
--button-border-radius | Button roundness (default is a pill shape) |
--button-background-color | Button background (defaults to your accent color) |
--input-border-radius | Form input roundness |
--site-logo-height | Height of the site logo |
--pre-background-color | Code block background |
Tip: test changes in your browser’s DevTools first (Elements panel → Styles → edit the :root rule live). When you find values you like, copy them into the code injection.
Support
If you need additional help with the theme, please contact me at support@luxethemes.com.
Good luck with your site!
All the best,
Stefan from LuxeThemes
Changelog
All notable changes to this theme will be documented here.
1.0.0
- Initial release of the theme